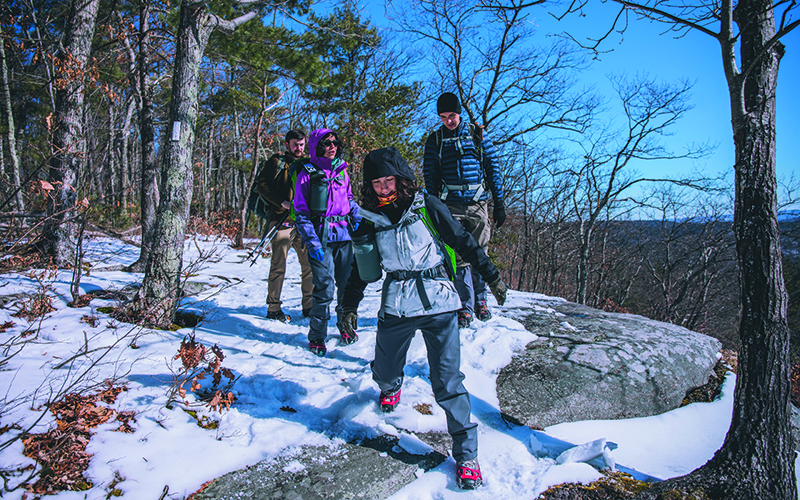
How to Winter Hike: 5 Tips to Get You Started

Winter transforms a trail. The hiking is beautiful, and snow can cover and even out rocky, rooty paths, sometimes making them easier than in the other seasons. At the same time, deep drifts make some areas impassible without snowshoes, and steep slopes can become icy slides.
Hikers should venture out with the season’s beauty, and its challenges, in mind, says Jessica Halvorsen, who has led or co-led more than 50 hikes with AMC’s Boston Chapter. She also instructs the chapter’s annual winter hiking program, a popular, five-week workshop teaching the best practices of winter hiking and backpacking. Drawing from her program’s curriculum, Halvorsen shares her top-line advice for wintertime hiking—no matter a person’s experience.
Stay Cool
Heat management may seem counterintuitive, but as a hiker, you generate a lot of heat, even when it’s cold outside. “You try to stay dry and not sweat, because if you stop and your clothes are wet, you’re going to feel cold,” Halvorsen says. Layering is the best method to regulate your temperature. (Read about W.I.S.E. layering.) “Often people will take things off and put things on repeatedly during the course of the hike,” Halvorsen says. Halvorsen’s favorite layer is a woolly sweater she found at a thrift shop. Still cold? Accessorize with warmer socks, gloves, a hat, or a facemask—“and keep moving!” Halvorsen adds.
Break Trail with Caution
If you’re the first person to hike a trail after a snowfall, you might have to create a path through the snow, also called breaking trail. Because forging through deep snow can slow you down, it’s helpful to have some idea of just how much snow is on a trail before you hike it. A trail’s popularity provides one clue. “There are some [routes] where, even if there’s snow in the middle of the week, it’s likely someone has gone there,” Halvorsen says. You can also search for recent trip reports online to get an idea of trail conditions. If you do plan on breaking trail, don’t go it alone. “It’s easiest if you have a crew of people who can take turns,” Halverson says.
Eat, Eat, Eat
This is familiar advice for hikers, but it’s doubly important in winter months. “You’re burning a lot of calories just keeping your body warm, and you’re carrying more gear,” Halvorsen says. “Keep eating throughout the day, and it will help you stay warm.” That can be tricky in low temperatures, since “people don’t stop for leisurely lunches.” Instead, Halverson says, “You take brief breaks and continue to move—and eat!—to continue to be warm.” As for water, if you start with near-boiling water and keep it insulated, it should remain thawed for the duration of a day hike.
Protect Your Feet
Not only should winter hiking boots be warm and comfortable, they need to be compatible with your crampons, snowshoes, or other traction devices. What’s more, “You want to make sure your boots have sufficient insulation,” Halvorsen says. She recommends boots with 400 grams of insulation or a temperature rating to -40 degrees Fahrenheit. As for traction devices, Halvorsen says the Boston Chapter recommends packing Microspikes, snowshoes, and crampons for any lengthy winter hike. The Microspikes are useful for packed snow that’s not too steep, while snowshoes are good for flat or sloped hikes in looser snow. Crampons come out in steep and icy terrain. “You might carry all three and switch them as you need them,” Halvorsen says. If the hike is steep, exposed, or above treeline, you may need an ice ax, as well, to stop yourself if you fall. Halvorsen emphasizes, “It’s important to know how to use the ice ax if you’re going to carry it.” (Read our ice ax introduction here.)
Be Outdoors
The best way to get comfortable hiking in winter is to get out there, ideally with companions who know what they’re doing. “It’s not just about gradually hiking longer but also expanding your experience level with different temperatures,” Halvorsen says. “As people expand their sphere of experience, they’re able to make judgments about what they’re willing to take on.” You’ll learn which layers work well for you and whether you want comfort items, like toe or hand warmers. You’ll also figure out how long you’re comfortable staying out—and perhaps even try your hand at winter camping. (Check out eight spots for first-timers here.)
Remember: You can always turn back. “It’s OK to say it’s too cold or conditions are too tough, and I’m changing my plans,” Halvorsen says. “The mountains will always be there.”


