Current Affairs: Swiftwater Paddling for Beginners
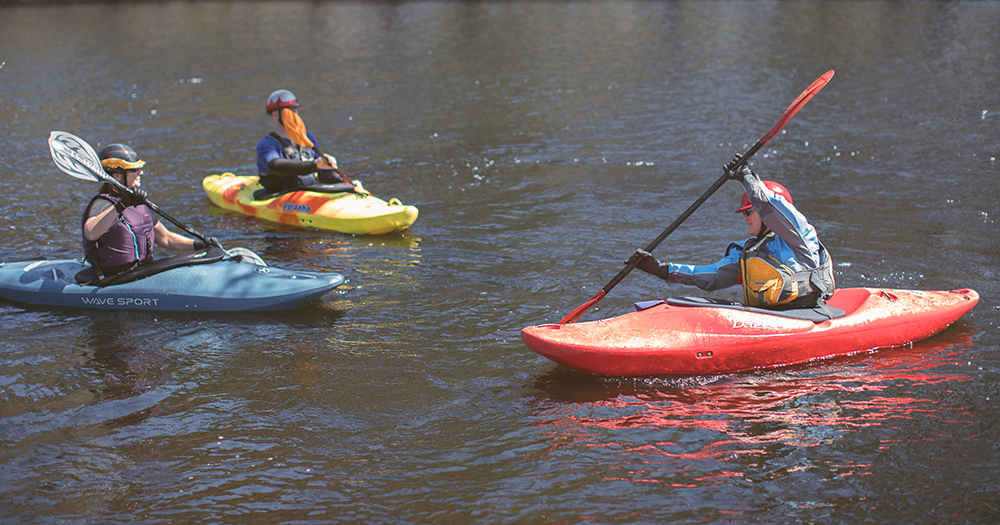
We’re a patient lot, outdoors people, putting in a morning’s work just for a mountaintop view of the miles trudged. But if mother nature offers a boost, a little speed, who’s going to turn her down? Biking, skiing, even snowshoeing a downhill stretch will have you effortlessly flying—literally. Canoeing and kayaking are no different, only it’s a river that’s rolling downhill, with the kayaker or canoeist hanging on for the ride.
Paddling quicker water adds several dimensions beyond quiet water paddling and has its own learning curve. Success depends on adhering to two fundamentals: correct paddling technique and respect for moving water.
Paddle like a Pro
For power and endurance, your paddle stroke should draw very little on your arms and instead on your torso muscles and the rest of your body. It’s the same reason we hike with backpacks instead of suitcases: you want to share the load among the larger muscle groups. Just as the pack belt shifts weight from your shoulders and spine to your hips and legs, swiveling hips and pushing legs help drive paddle strokes. Engaging your legs and rear end muscles also improves blood circulation and may prevent the leg cramps and numbness some paddlers report.
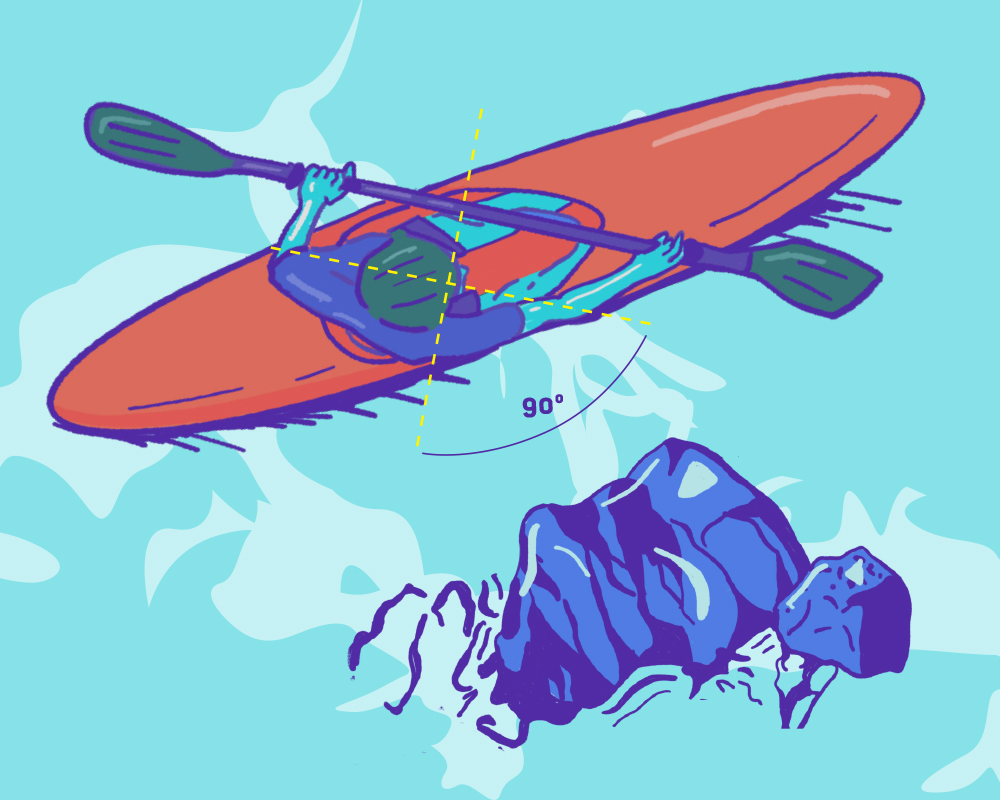
Watch an expert paddler and what’s striking is how lightly and effortlessly they move. Their whole body is engaged, a smoothly running machine with barely flexing arms attached to shoulders rotating a full 90 degrees, thighs pressed against rails, and feet against pegs—every muscle contributes.
Like a dance step or a musical instrument, correct paddling technique requires long, deliberate practice doing it right to develop the correct muscle memory. You need to learn to be conscious of consistently rotating your torso with every sweep of the paddle, one-two-three, and then repeat on the other side, sometimes for hours on end. Be mindful of not letting your form slip, poor form is easy to acquire but a hard habit to break.
Practicing good form will probably feel awkward at first, even wrong, because it will be unfamiliar. Experiment with holding your arms totally rigid while pivoting your torso to drive each stroke. If you feel like you’re paddling in sort of a robot waddle you’re probably doing it right! The unusual movement actually moves your boat fairly well.
Practice these essential maneuvers to raise your skills toward anything the river throws your way:
Forward stroke, as described above, including against the current.
Back paddling against the current to slow down, useful while waiting for a jumble of boats ahead to sort themselves out or while moving into position across current.
Ferrying, which is crossing straight across a river’s current without getting swept down-stream. This requires angling upstream. (See figure.) For extra challenge do it backwards in a back ferry.
Pulling into and out of current is the primary maneuver taught in a whitewater class as the “peel out” and “eddy turn.” For this maneuver you lean your boat down current, or in the direction the current is flowing, to prevent its side catching and being driven down, rolling you into the water. Leaning down current is a valuable instinct to develop even for the less adrenaline driven.
Respect the Flow
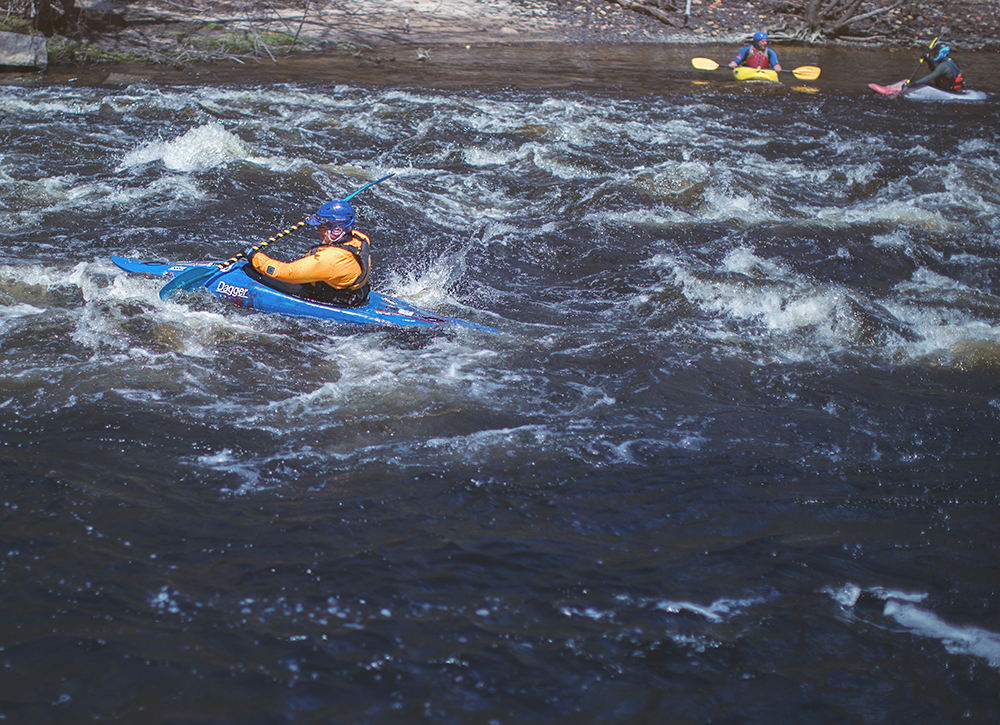
Next comes learning to read flowing water. There’s a reason it’s portrayed on Native American pottery as an undulating, spiked serpent—a life force but also a beast dangerous to the unwary.
You’ll often face a line of rocks with water pouring through from various spouts. Which should you choose? Stop and give it a good, long look, either from shore or back paddling if the current isn’t too strong. Pick the route that carries the highest water volume, while also having a clear enough path beyond. It’ll be hit or miss for a long time.
Where each stream pours into the water below it leaves a trail of ripples in the shape of a “V,” the narrow bottom pointing downstream. Generally speaking, the bigger the V, the more water is causing it and the better place it is to aim for.
Start Out Slow
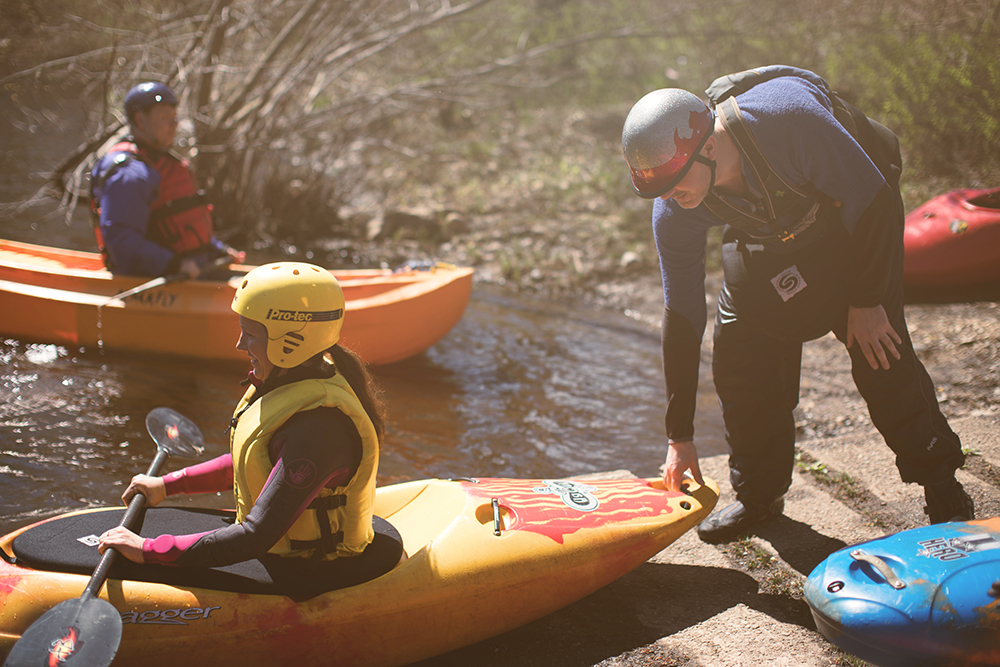
A persuasive friend coaxed me onto scheduled paddles of slowly increasing challenge, providing live pointers on reading water and eventually loaning me his kayak. I was hooked. There is plenty of learning and newcomer excitement your first time on any level of moving water, and you grow from there.
Of course, the usual caveats apply to starting out. Go with people who are well experienced with the route and level of water you’re paddling. Nervousness, however, is an entirely reasonable response for an air-breathing animal. I still feel unsteady upon getting in an unfamiliar boat or rough water. Start by giving your brain 20 minutes to acclimate to your new surroundings.
Once you start paddling remember that a river runs downhill, meaning time takes on a new urgency. That protruding rock you notice down current is underneath you seconds later, your boat bouncing over it—or into it.
Trees lying across the river are particularly dangerous. While the current can flow through it, paddlers and boats frequently get caught—earning these downed trees the name “strainers.” The problem is not just that you might go into the water, or “swim,” as experience paddlers call it, but that the current’s force can easily exceed your strength, requiring skill and luck to extract yourself. Large rocks or a bridge pier can present similar hazards.
A worst case scenario is finding yourself pinned against an obstacle by the force of the current pressing on your own swamped boat. Accordingly, if you do swim, get immediately upstream of your boat and remain there.
Also be sure to speak loudly and clearly when paddling on a swift current. Don’t be alarmed by paddlers yelling. They’re communicating with each other over the sound of the water. Keep at least a boat’s length apart, or more when paddling tricky sections—especially upstream. Point only to indicate a desired path, never at a hazard.
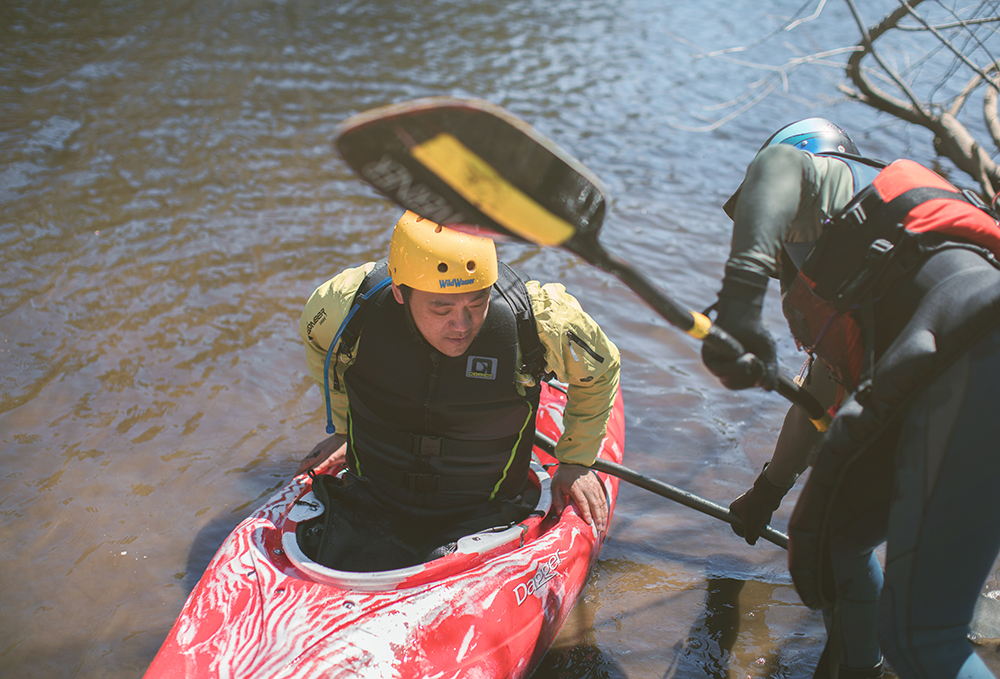
Gear Up to Go
Swiftwater paddling requires only a few pieces of high-quality gear: a boat, a paddle, a personal flotation device (PFD), and a waterproof “dry bag.” This last is a useful container for clothes and other items you don’t want to get wet.
Kayaks: A polyethylene rotomolded “recreational” solo kayak is the most practical boat for all-around recreation. Its maneuverability, double-bladed paddle, single-person operation, and durability make it popular among paddlers from beginners to those seeking easier whitewater adventures. A 12-foot boat is long enough for speed and “tracking,” or going straight, while remaining reasonably maneuverable for river current. Good quality, new kayaks cost around $1,000 and weigh 40 to 50 pounds, so it’s best to rent or borrow a boat to start and get help carrying it.
Canoes: Canoes appeal for other reasons. A canoe’s carrying capacity just calls out to be taken camping. And there’s no denying that the single-blade paddle encourages the development of more subtle paddling skills. My single blade “aha!” moment came while learning the Canadian method, which calls for paddling on one side and only switching sides when the canoe spins too far the other way. That’s right, a true canoeing artist can go straight, left or backwards without changing the side on which they’re paddling!
While tandem canoe models, carrying two paddlers, promote teamwork, I love solo canoes for camping, paddled with a twin-bladed kayak paddle. Yes, narrower canoes can be paddled well with a twin blade and don’t let equipment snobs scold you for it. Twin blades were hugely popular for solo canoes in the late 19th and early 20th century, and such boats have again become major sellers. Why? Because it works. Facing a head wind? No problem with a twin blade!
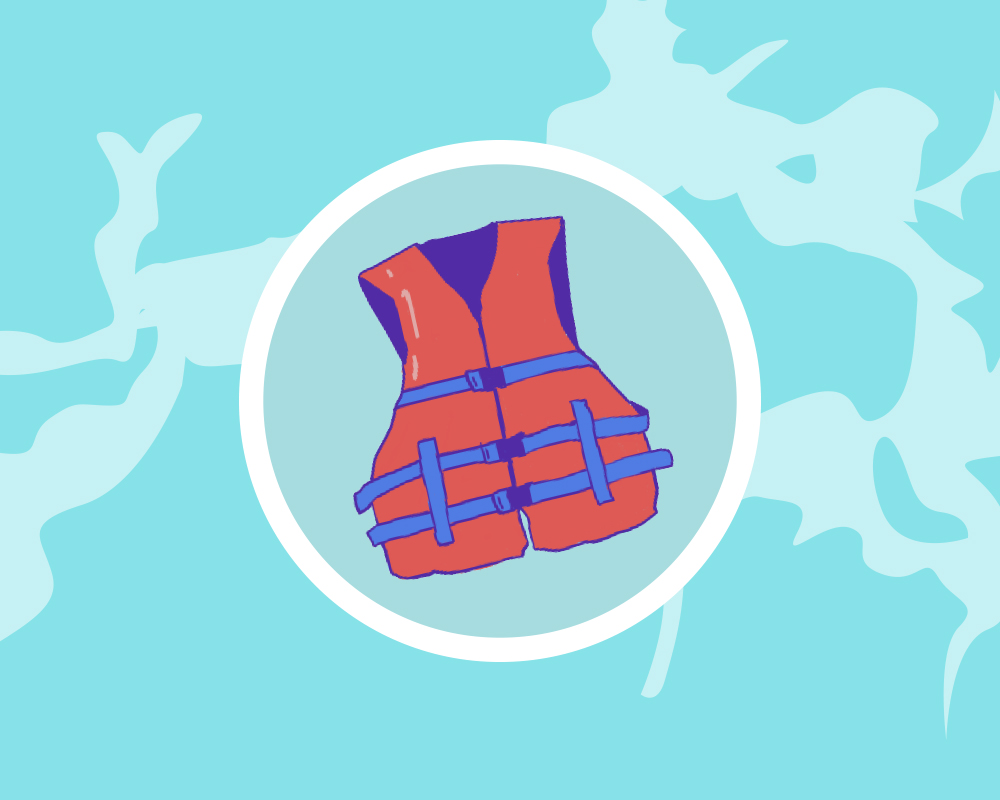
PFDs: A PFD’s purpose is to protect against the unpredictable, but even the best equipment can’t help those who refuse to use it. In other words, the PFD that saves your life is the one you wear. It should be a Coast Guard approved Type II model, designed expressly for paddling, with plenty of room for arm movement, and a good, comfortable fit on your body. The best way to be sure it’s right for you is to buy your PFD in person from a knowledgeable paddle shop.
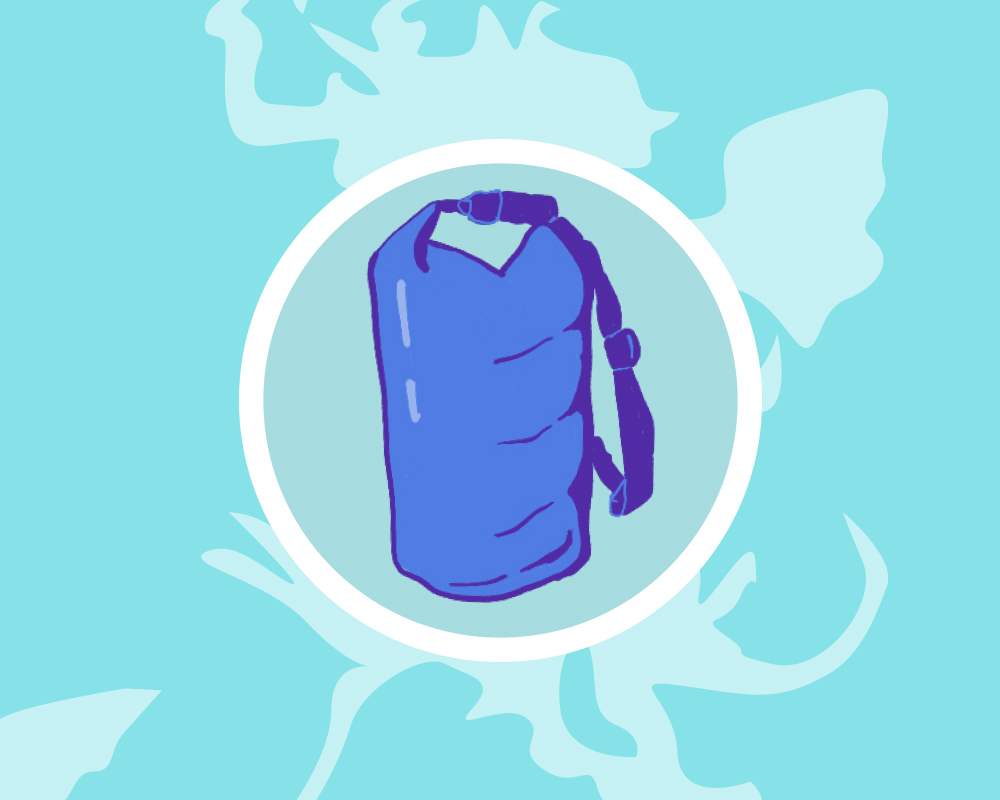
Dry bag: One of the most predictable parts of paddling is that paddling gear gets wet, so you’ll want a way to sock away certain things so they stay dry. That means getting a “dry bag,” manufactured for this exact purpose. Your kayak’s hatch just isn’t leak proof enough and isn’t intended for that job.
What you want is a dry bag. They’re typically constructed of rubberized cloth and seal via a top flap that rolls down and clips to itself. I recommend a dry bag that is about 20 liters in size to store a full set of spare clothes, a toilet kit, and lunch. For canoe camping, my favorite dry bags are a pair with 110 liter capacity, complete with backpacking straps and a belt. Together, they keep our tent, bedding, clothes, and food dry and also make it easy to move all that gear around.

Where to Paddle
Like similar early industrial areas, Central Massachusetts is blessed with many small rivers providing seasonal paddling with occasional swifts. Given how changeable river conditions are, these are best pre-paddled by leaders. With swiftwater paddling choosing and screening your route becomes more demanding. Here are a few options in New England and beyond to get started:
Quinebaug River Trail, Southbridge, Mass., to Thompson, Conn.: The Quinebaug River from the Big Y in Southbridge, Mass., to Fabyan Rd. in Thompson, Conn.—with its occasional trees, rocks, and shoals—provided my first heart-thumping challenge. Consult The Last Green Valley for an encyclopedic paddling guide to this and its sister rivers.
Deerfield River, Charlemont, Mass.: This route starts at the Shunpike Rest Area on Route 2 and ends at East Charlemont Boat Launch. Before scheduling a trip you’ll need to verify whether a dam release is scheduled for that day.
Delaware River: I’ve been assured the entire Delaware River makes for great paddling, but one spot that’s especially well-recommended is the stretch from Dingmans Ferry to Smithfield Beach, Pa. See delawareriverwatertrail.org for more selections from the two week of paddling source to the sea.
Lehigh River: The stretch from Lehigh Gap by the Route 873 bridge to Northampton Canal Park Access features Class I to I+ water, one dam portage, and is able to be paddled at summer levels. This route features a lot of water but few obstacles. Note: Swiftwater and whitewater paddling is classed I through VI, with I being the easiest to navigate and VI representing dangerous conditions.
In sum, more than “what it takes,” it’s “where” a swiftwater current takes your paddling life. Yes, you can make it technical, as outdoors people often do, pursuing relevant skills and traditional or ultra-modern equipment. But ultimately, many of us are just leveraging skills we picked up in our earliest outdoor experiences and adding a bit of current is a natural and rewarding progression in our paddling adventures.
Are you inspired by this reader-submitted article? AMC wants to hear your story! Submit your idea here.


